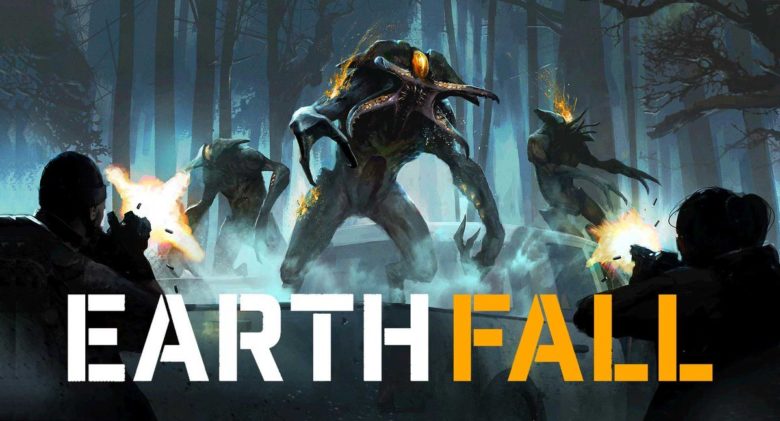
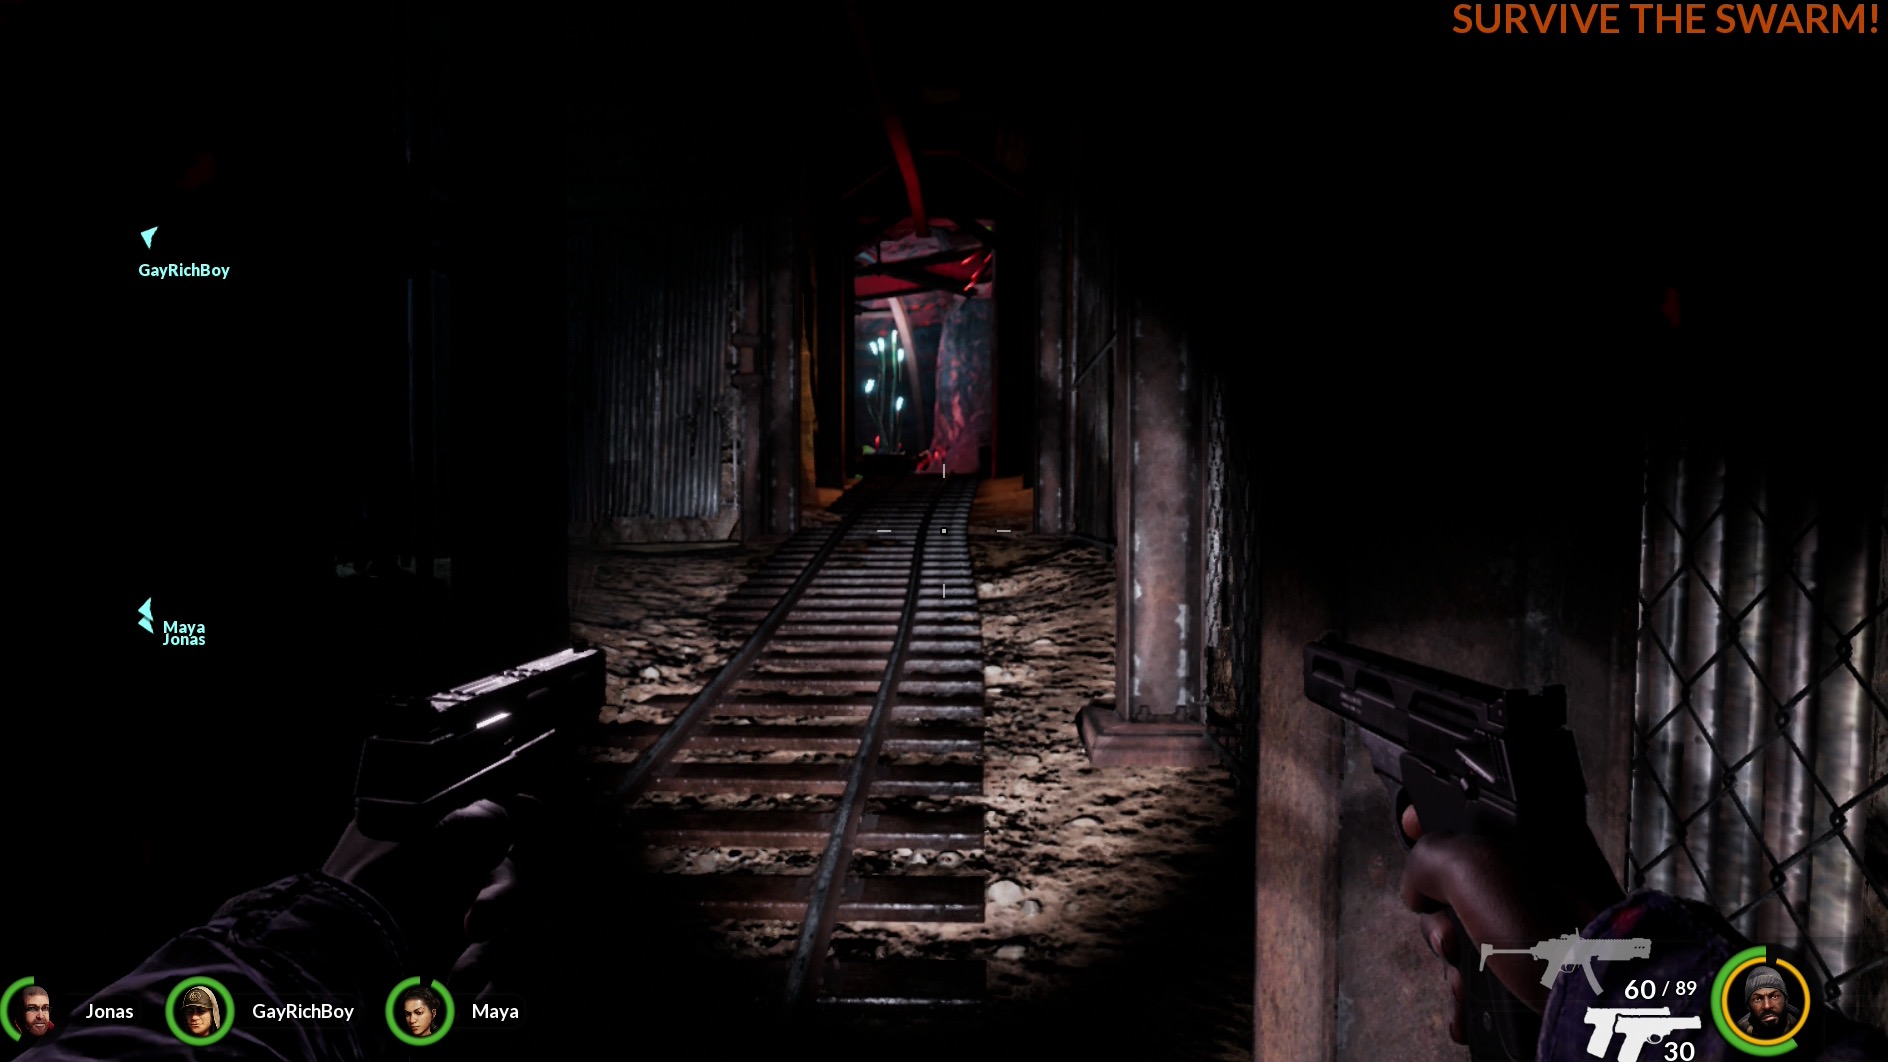
When I first played Earthfall on overwhelming it felt impossible. Enemies came from all kinds of crazy locations, there was always something to shoot, loot seemed far and few between and all it took was a couple specific enemies to cause a wipe. While this holds true, even for the best players, it’s not as hard as you might think. With a couple tips, tricks and helpful tactics, it is actually fairly doable, assuming you have a mic and/or can get friends to help. This is important, since the AI, even on masterful, is great until it isn’t and will not make the clutch plays needed to beat overwhelming.
Basic tips and tactics
Where a lot of people fall short is actually basic tactics. Even though some of it is on the player, there is a surprising amount of depth to Earthfall, with a number of key tactics and moves going unexplained. To help you play better, here are some of the better tips and tactics.
- Fences can be upgraded with things like propane to make them more effective against aliens.
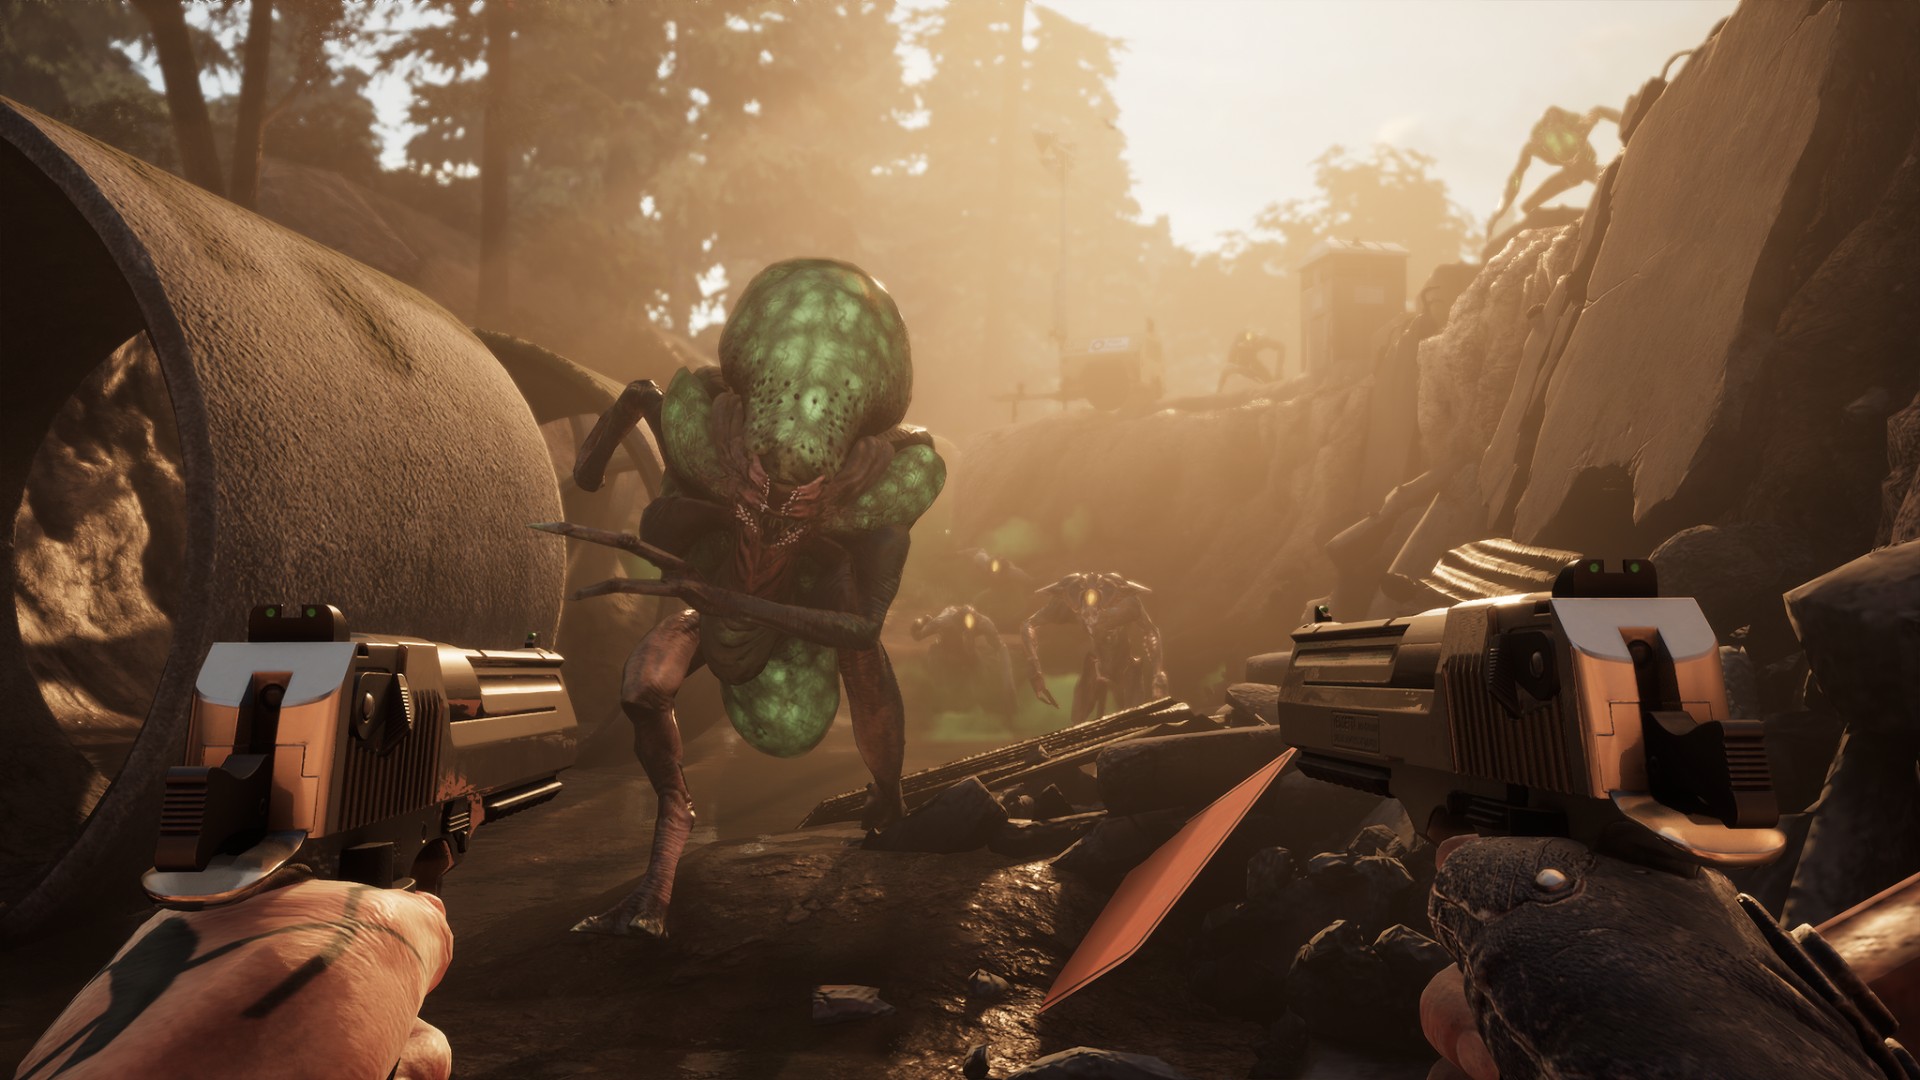
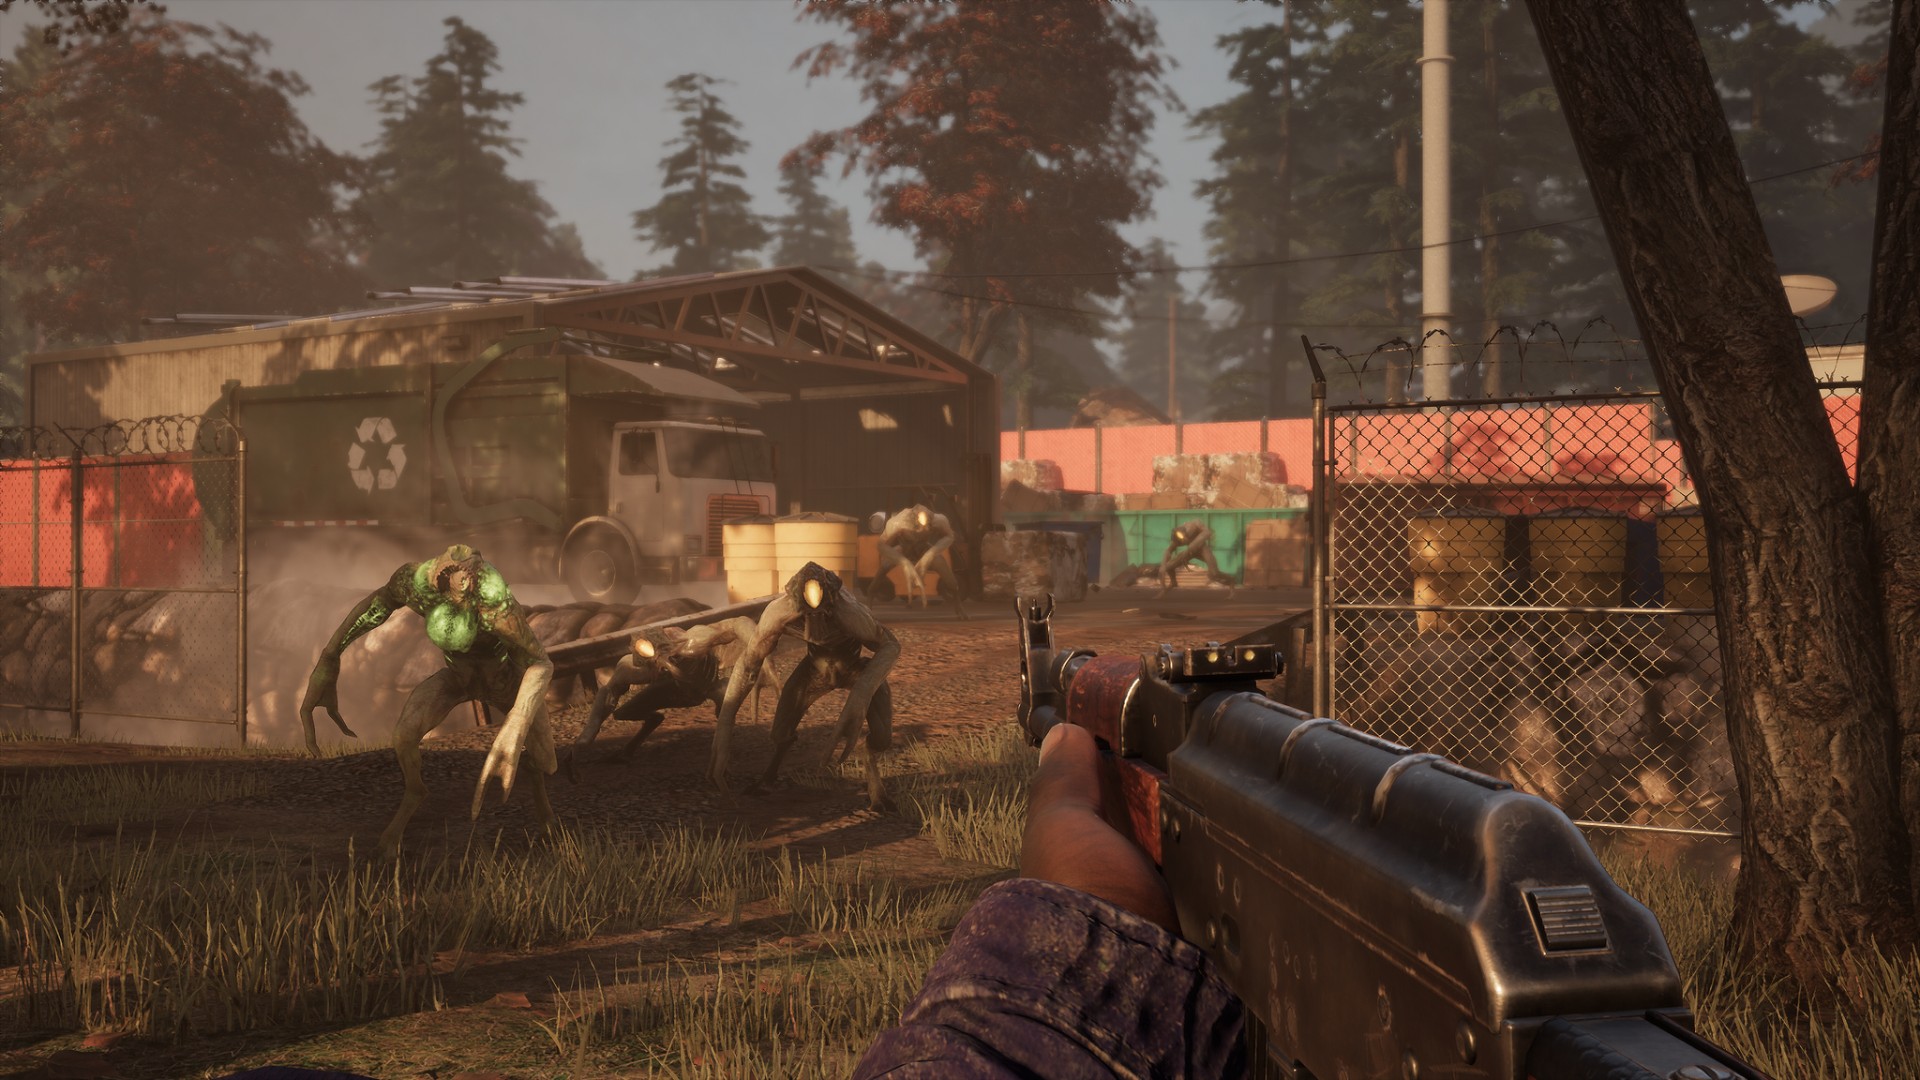
- If you melee a thresher before it pins you, it will be sent flying. You can also melee lock them to reduce their threat to nothing. Melee and then shooting enemies is a very effective way to handle hostile threats.
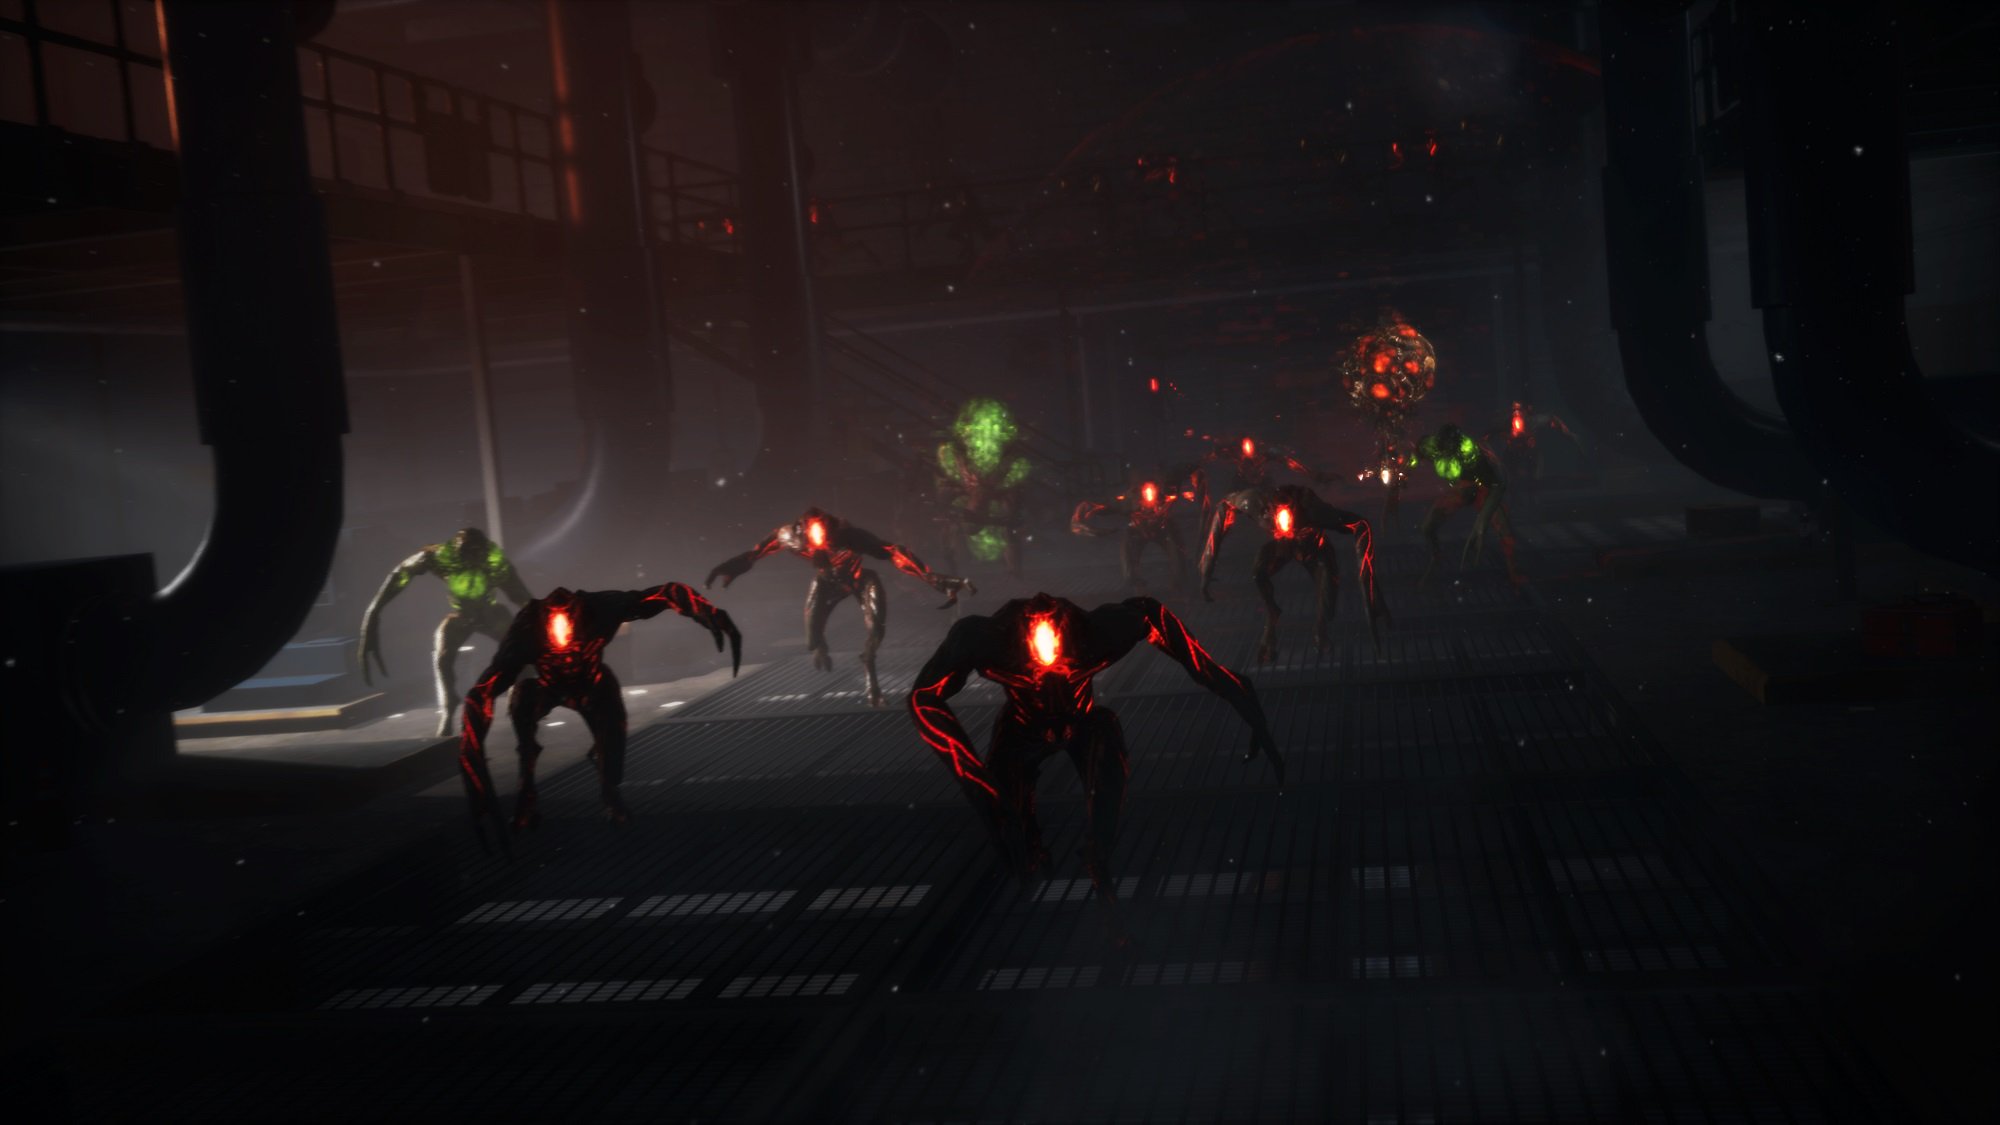
- The game makes specific sounds or effects when certain enemies are on the field. Pay attention to them. They also come in patterns, so if you get a thresher, you’ll eventually get a whiplash and vice versa.
- Stim packs can be used for quick revives and you can bring someone to full health if you revive them with a med kit.
- Killing a teammate below green health is an effective way to bring them back to green.
- Try to bring helpful things, such as barricades and mounted guns, forward.
- Beasts will always focus on a single player, unless another player is within melee range, so the best way to defeat them is to have someone kite them while everyone else damages it.
- Things generally spawn in the same places, so learn where to find what and minimize your time doing nothing.
- After collecting a printed gun, always print a new one. This will allow someone else a chance to instantly get a new gun and decrease problems.
- Enemies spawn in hoards, even if you’re standing still, so keep moving forward.
- Try to complete as many fights as possible near a heal station.
- Always leave as soon as possible or is safe. If someone is at the end point, either die or make it there or expect to fail. Do not be the person who decides they rather kill a Blackout than win. Also, if someone is being stupid, don’t be afraid to kill them to finish a mission.
Level Specific help
While I probably came up with or had someone, such as eGEORGE_, explain how to do every mission, this guide will only list the most important parts or key information. This is for two reasons. The first is spawns will play a huge role on how you play a mission and many of these tactics are repeats of information listed above. Some of those tips/tricks will be repeated below, just when it’s vital to success.
Supply Run
There isn’t much to supply run besides hoping for good spawns and using barricades at choke points. The best advice I can give is take it slow and try to hold down positions. You also want to try to kite the beast for as possible as possible if someone dies or has issues to better ensure success.
Breakdown
I strongly suggest looking at the truck to the left at the start and taking the sniper on the roof. With these two things you’ll be in a great position. Outside of that, try to do things as quickly as possible and use all four players to move the car. By doing this you minimize the amount of time you’re in a bad position and can abuse the health station during longer/harder fights.
Data Recovery
This mission is unique, since most of it takes place near the middle, where there is a healing station, so try to start things in one room before returning to the other. Also, when you turn on power in the room with a healing station, you can prevent enemies from spawning below by having someone hanging out down there.
Sunnyvale
Okay, this mission sucks to do legitimately, but there is a pretty cheap cheese. What you need to do is move as a team to the forklift section and hope a beast spawns. If one does, figure out who the target is and have them return to the spawn. If they can make it back to the spawn, by which I mean the actual starting location near the drainpipe, it will drastically reduce the number of enemy spawns and should prevent any other high tier enemy from spawning. This is true for a number of other missions I played, so if you have a way to trap the beast, you can use it to reduce the overall difficulty at the cost of being down a player.
Radio Silence
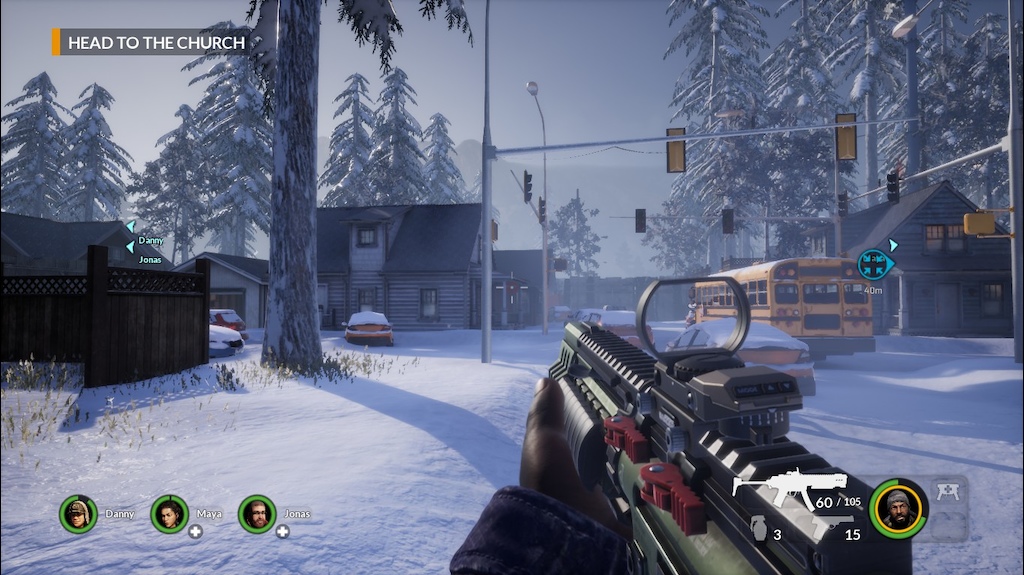
There are two extremely helpful things to do on this mission. Bring as many mounted guns forward as possible and crouch down to get to the ladder faster. This will make it easier to hold off enemies and will make killing the beast at the end a breeze.
Revelation
This map, in a word, sucks. The only real trick is to slow enemies down and work together. You will be overran and it will happen often, so if you have good coordination it isn’t too bad but there aren’t many tricks to win.
R&D
Oddly enough, this is likely the easiest mission in the game. Just take it slow, use cover to your advantage and have fun blasting enemies with the Valkyrie (you can print them on the last machine) at the end.
The Diversion
Another fairly easy map. The best advice I can give is look around and hope you can find a couple Valkyries. I think we found two and it made short work of bosses and peons alike.
Into the Breach
This is easily one of the hardest maps and one that requires good coordination to have a chance at. While I did it legitimately, I strongly suggest cheesing it, which requires a beast to spawn after opening the first gate. If this happens, figure out who the target is and have them bring the beast to the next area. What they or ideally someone with a stimshot, needs to do is go around the building materials outside and lure the beast into the bottom right wall. If done correctly, the beast will continue moving forward and the player should be safe. Please note, it is possible for some enemies to spawn over there, so make sure to keep an eye out.
Extermination
This is probably the hardest mission, largely because it relies heavily on everyone doing one section perfectly. The best way to do it is bring every barricade forward and ideally find at least one charge. Transport all of this stuff to the area where you need to move the drills up the mine shaft and deploy as many defenses as possible. The ideal solution here is there will be enough of a delay that you can make it up there without needing to shoot or revive anyone down that hall. Figure out who the beast is targeting and have them kite as you defeat enemies, followed by killing the beast itself.
Before starting the next part, bring the charge forward and select a player to turn the valve. Said player should have a stimshot, so make sure they do before starting the next section. Also, make sure to grab the charge and bring it forward. As soon as you enter the next room, have the runner use their stim and quickly turn off the valve. While they’re doing that, the player with the charge should throw it in the sapper pit, which should make things much easier.
When the path is clear, have the remaining players enter the room and start pushing the cart. Please note, there will never be a good time to enter that room, so just do it as quickly as possible and hope for the best. If done correctly, the cart should move fairly quickly and players should be able to clear all hostiles while moving. Once you get to the end the rest of the mission boils down to same tactics as before.