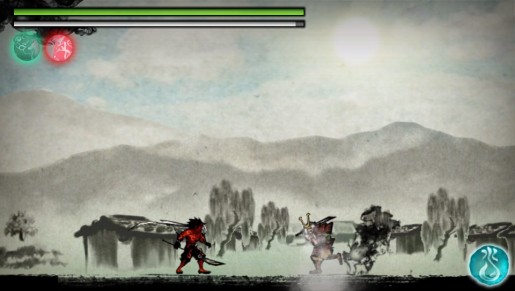
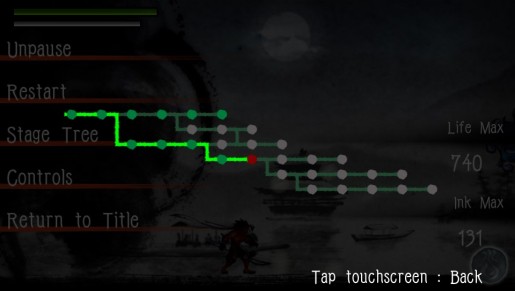
While Sumioni: Demon Arts is a simple game, some of the elements can take some time to master. Things like the alternate endings, certain bosses / stages and basic controls might confuse some gamers. This is where this guide comes into play; by explaining basic elements you won’t be confused in most situations.
How to Play
While a level guide might help you in the short run, some basic tricks are all you need. Most levels can be transverse by simple inputs or patterns. This area will show you what/how to deal with most problems.
Spikes
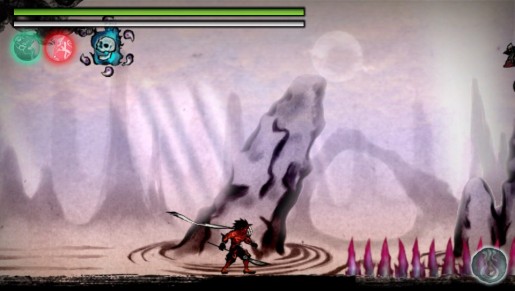
There’s not really a lot of tips, but I found if you just walk and draw lines going from down to up. Then you should make it to the end with ease. Some stages will require more effort, but it should generally work.
Archers
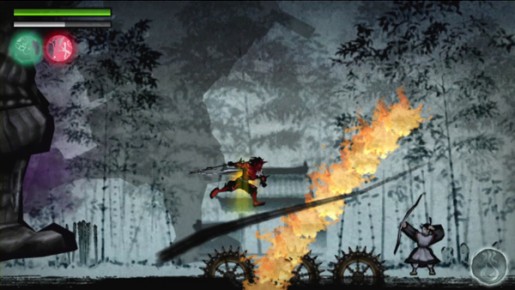
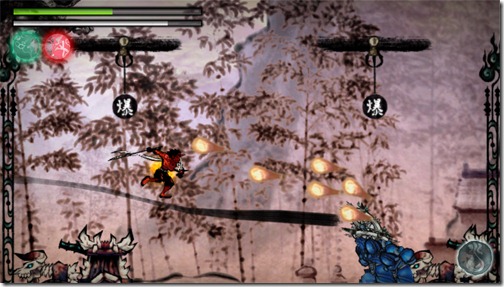
Easily the most problematic enemy, they’re surprisingly easy to deal with. If you’re having problems with a part due to them, then simply use some burning ink (L + draw a line). The ink usually won’t kill them, but if they’re hit, it will prevent their attacks. The second they can’t attack you, is the second they’re no longer a problem. I strongly suggest using this on bosses, as they can easily ruin a three star run.
Carts
As you progress on, you will encounter some cart enemies. These guys aren’t hard to kill, but if they start to charge at you, they will do INSANE DAMAGE. To give you an idea, I’ve lost more life in one charge, than to the actual boss on 7C.
To kill them quickly, charge from a distance and use burning ink. You will most likely need to dodge one charging attack, but it should prevent further attacks.
Tower Bosses
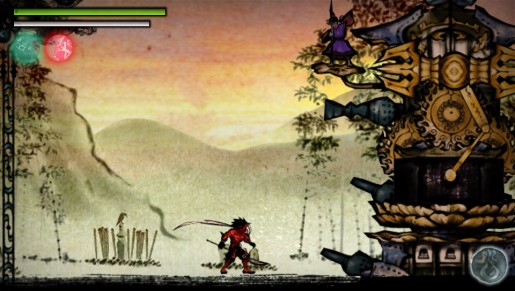
I believe the “Tower Bosses” are meant to be pagodas, but to make it easier for you, let’s call them towers. Most stages feature this boss in some form, so knowing how to deal with them is important. As soon as you start, summon a god (L + select an icon in one of the bottom corners and then follow the stroke order). I usually use the Lion god, but Phoenix helps too.
Once the god is summoned, rush the boss by dashing towards him. I usually made use of the windmill skill (dash + jump), but any attack is good. Try to avoid damage, though time is more important than life. Later on some bosses use archers, so use burning ink on them to prevent attacks. Burning ink is also helpful on the boss, but does minimal damage. Finally if your god disappears, simply summon the other one.
Ogre Bosses
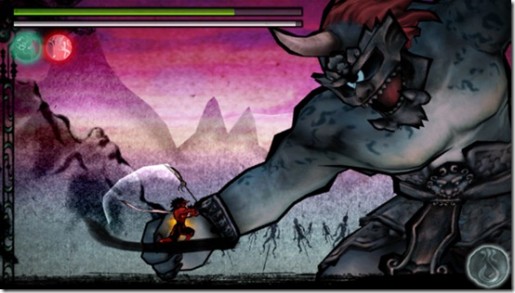
While uncommon, Oni bosses are surprisingly easy to defeat. Unlike the towers, you want the Phoenix to assist you. This is because he will usually attack her, which allows you to ignore his attacks. Unlike other bosses, he is more about reading signs than actually playing smart.
Front Facing Arm
If you see the completely visible arm move back, then he’s going to do one of two things. Sometimes he will attack the area directly in front of him and other times he will attack the top left screen. If the Phoenix is summoned, then its 90% the top screen. If the Phoenix is not summoned, then move back.
Back Facing Arm
This is the semi visible arm and simply means he is attacking the bottom left. I never once got hit while attacking him up close, so don’t worry about him if you’re there.
Arms above His Head
Unlike his other attacks, this indicates he is going to smash the ground in front of him. This will also create a small blast zone, so make sure you’re far away. Keep in mind that it also does the most damage too.
Covering His Face with One Hand
Most bosses have a stunned state. During this state he won’t attack you, so try to stock up on ink or just keep attacking him. Basically you’re safe till he starts moving again.
Covering his Face with Both Hands
No matter what you do, you will be affected by this skill. He will draw you close and summon enemies. Make sure to kill the archer, and then work on the boss again.
—
Besides these moves, he will do orb attacks. What triggers this is different depending on which version you fight, but they don’t do enough damage to care.
Eye Boss
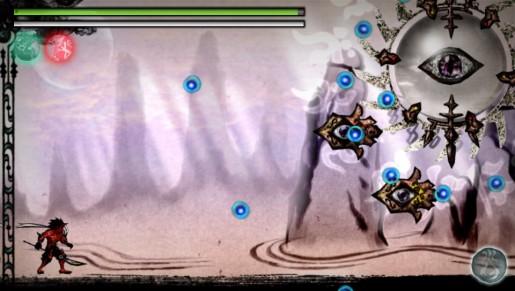
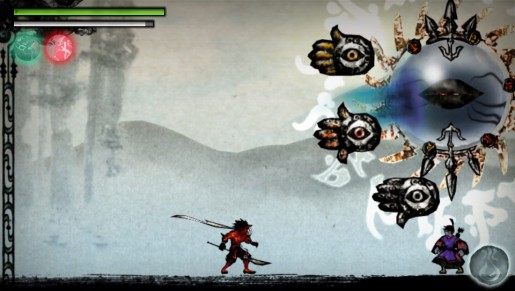
Most stories end with this boss, but there are many different types. Sadly I won’t detail each of their attacks, as this can get very confusing. The basic gist is that you need to always attack the blue body. Attacking the hand will just kill them and when he gets stunned it will come back. Most of his attacks do minimal damage or have fair warning to avoid. For more information see below.
Final Boss
The final boss is simply an eye boss. However, he is almost always attacking. The key to beating him is rather simple though.
The second the fight starts, summon the Lion god. Hang back and make sure he doesn’t get hit too many times. Remember you can clear away orb attacks with the water brush (circle + touch). If you do this right, he will get hit with the Lion’s charge attack. This will do a LOT of damage to the boss. Play smart till you get him stunned. If you’re having problems, remember that you can rush attack (forward x2) and wash away his attacks.
The second he is stunned, summon the phoenix. He will usually use his beam attack right after being stunned, so don’t rush him. Remember that he will go down right after, so make sure to avoid this no matter what. Continue what you’re doing till you see his hands move. If the hands line up and the middle one looks weird, move a little to the right of the hand. This is a five way beam attack, which is easy to dodge in that segment. During this part, constantly burn the boss with ink while trying to replenish your ink. If you do this right he will be stunned again.
INSTANTLY!!! Summon the Lion god and he should end up doing his beam attack again. From here you shouldn’t get the Lion god again, so you need to repeat earlier stated moves to defeat the boss. I beat this boss on my second cycle, so it’s doable at any point with skill.
Achieving Three Stars
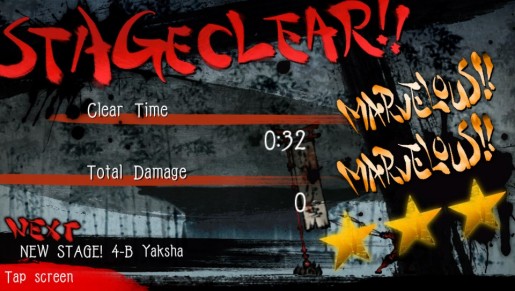
Generally speaking, this is pretty easy to perform. As long as you get Marvelous and another rating, then you should get three stars. The only helpful tip I can give you is to work on time. Sometimes you can get lucky and by doing things quickly, it will also prevent the boss from even attacking. In the end, as long as you can avoid heavy damage attacks, you should get at least one star.
Bronze
Idle Oni
Achieve Ending 1.
Follow the path pictured above. For more information, see the “How to Play” section.
I’ll Get To It Tomorrow
Achieve Ending 2.

Follow the path pictured above. For more information, see the “How to Play” section.
Vagrant
Achieve Ending 3.

Follow the path pictured above. For more information, see the “How to Play” section.
Good Ending
Achieve Ending 4.

Follow the path pictured above. For more information, see the “How to Play” section.
All My Life
Expanded life gauge to max.
See “All My Ink”.
All My Ink
Expanded ink gauge to max.
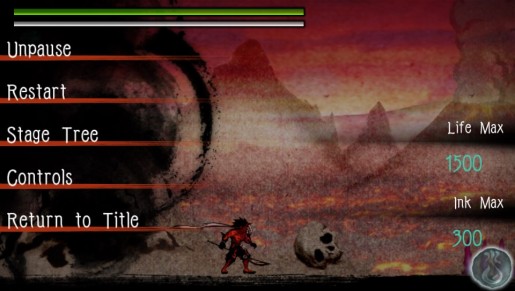
As you progress through the game, you will see circles with yin yang’s. Each one will slowly fill your meter and max out at some point. Ink ends at 300 and life ends at 1,500. I got this before finishing every ending, so you should be fine. Also, most of these come from bosses, so don’t kill yourself over random ones.
Master of Swords
Spend > 1 hr. in multi-edge mode in a single save slot.
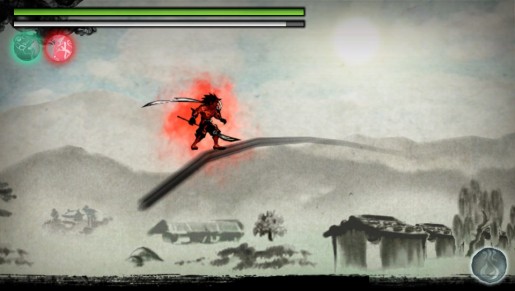
Multi-edge is the glowing thing that happens when you stand on ink long term. As long as you don’t touch the ground or get hit, you will keep this going. If you fail to do this by ending 6, just start a new game and stand on ink till it unlocks. Just make sure to constantly redraw the line.
Might of the Lion
Summoned lion Inkgod 30x in a single save slot.
See “Dancing Flame”.
Dancing Flame
Summoned firebird Inkgod 30x in a single save slot.
You will play over 30 stages before you get every ending, so just summon a god every fight. To summon one, push L then select a god. The Lion is to the left and the phoenix is to the right. Once you select one, follow the pattern to summon the god. It will require ink, so make sure you have it.
Tactician
Inflicted status ailment on 10 foes in a single save slot.
Find a slot with some archers (since they don’t move) and burn some ink. Change to the water brush, then put out the flames. This will create mist, which if they’re affected, will count as a status ailment. If you’re having problems, see the image below.
Silver
Ambitions Realized
Achieve Ending 5.
Follow the path pictured above. For more information, see the “How to Play” section.
Redrawer of the Line
Achieve Ending 6.
Follow the path pictured above. For more information, see the “How to Play” section.
Gold
Every Legend Told
Achieved all endings in a single save slot.
Once you finish the game, it will let you save. Overwrite the save and you will start at the beginning. Once every stage is green or the last six anyways, the trophy will unlock. I suggest going from 1 to 6, but I did 6 second with minimal issues.

