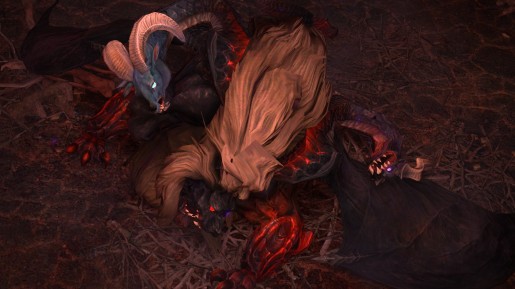
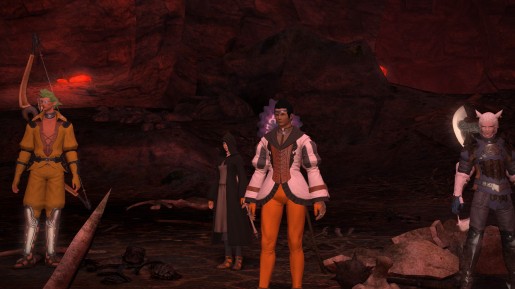
Giant Tunnel Worm – Mini Boss
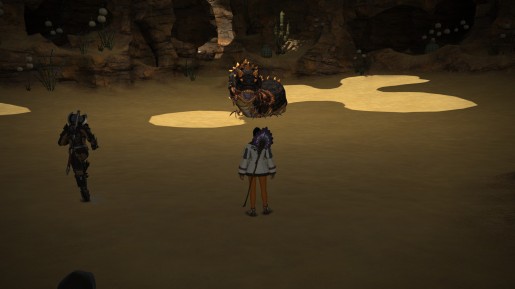
– The Giant Tunnel Worm is the second mini-boss that you will fight in Cutter’s Cry. This time, you don’t have to worry about dealing with adds, although you are required to move a lot and the healer’s attention to detail will be put to the test. In this fight, there are three mechanics that you have to watch out for.
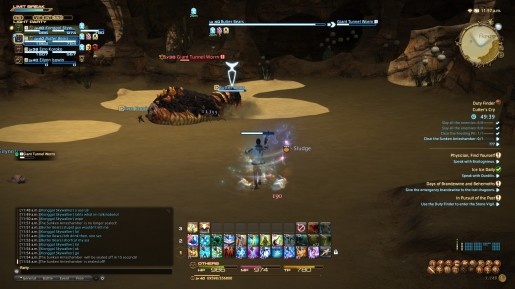
– Aside from the Worm’s normal attack that he deals with the tank, he casts a Sand Cyclone ability where the targeted member becomes inflicted with a dot debuff. As soon as the healer sees this through the party frames, have the healer cast Esuna to remove the debuff and heal the targeted member immediately.
– Following the boss’ Sand Cyclone ability, he then does the Sand Pillar move where he goes underground and randomly targets someone in the group. With the worm underground, you must watch his path, ensuring the group reacts and evades in time to avoid the areas that the worm comes out from the sand.
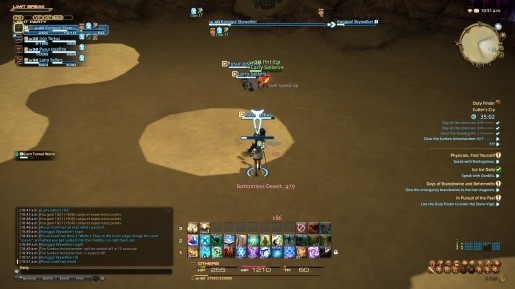
– To complete the cycle of the Worm’s attack, he performs the Sand Dune where a whirlpool of sand sucks everyone in. Immediately run away from it as the boss emerges and deals a massive amount of damage to those who are sucked in.
The above mechanics are the order of moves the boss casts its moves. As mentioned earlier, it’s imperative that everyone pays attention to the debuff, the way the boss is going when using Sand Pillar and being able to run away immediately from the Sand Dune.
Chimera – Main Boss
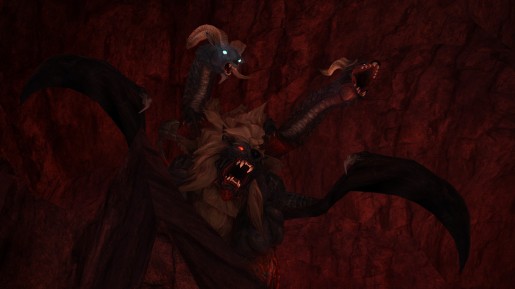
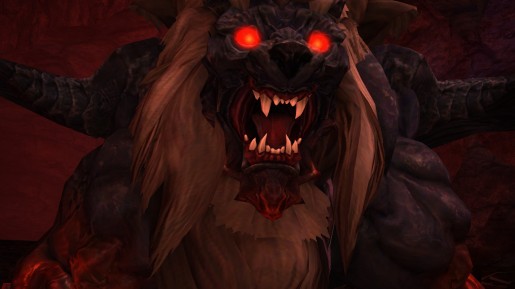
– Chimera is the final boss in Cutter’s Cry dungeon. Compared to the two bosses that you just encountered, Chimera is quite challenging. Make sure everyone pays attention to the set of moves he does as it can lead to a total wipe out if you’re not careful enough. In this fight, the boss has two phases.
Phase One
– During the first phase of the boss fight, the Chimera performs several moves that everyone needs to pay attention to. This boss loves debuffs and dots, so expect those.
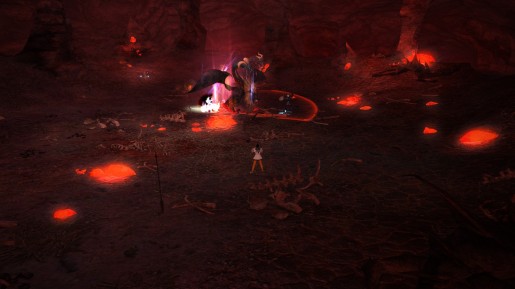
– Frontal AOE Cone attack is the first move that you should know about. This is the Chimera’s basic attack which the tank has to worry about. When you see the frontal cone AOE being cast, immediately move away from it. If you fail to evade that frontal AOE cone attack, you will get a Paralysis and Heavy debuff, making you move slowly.
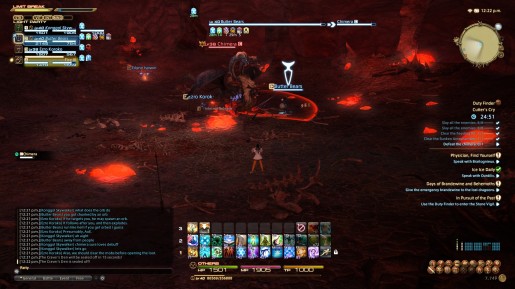
– Over the course of the fight, the Chimera randomly casts different kinds of debuffs. Fortunately, you can figure out which one is coming through the prompt that appears in the middle of the screen. Since the Chimera has two dragon heads on it, each will have different eye color. Whenever the boss decides to switch the color of its eyes, you will see it on screen:
“The dragon’s eyes now burn violet / blue”
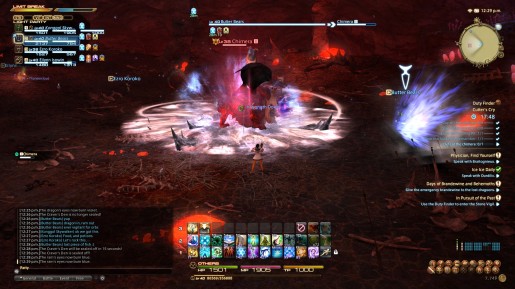
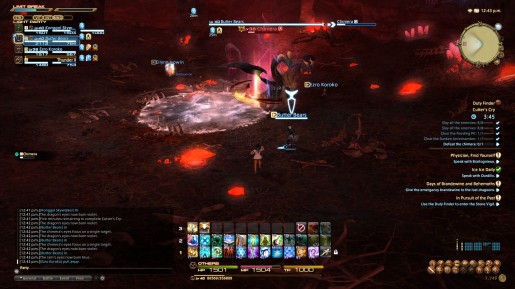
Frost Bite: When the Dragon’s eye turns blue, the boss will cast an AOE DOT debuff around him. As soon as you see the eyes turn blue, have everyone get away from him. If someone gets caught from his frost bite attack, their HP will be slashed in half and a debuff taking 200 – 400HP will take place. Have the healer immediately cast Esuna to remove the dot debuff. (pictured above)
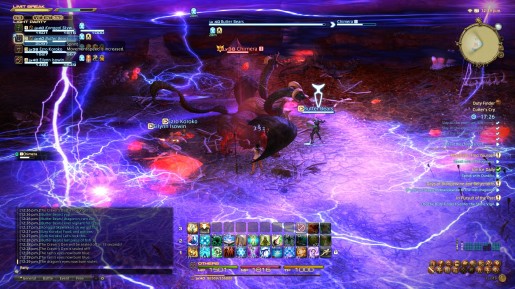
Dragon’s Voice: When the Dragon’s eye turns violet, the boss casts an AOE thunderbased-attack with a paralysis debuff. As you can see above, the range is wide and there’s a way to not get hit! When you know that the Dragon’s eye has turned violet, immediately stack on him.
Phase 2
– When the boss’ HP drops to 50%, he adds two more mechanics. Along with the Frost Bite and Dragon’s Voice, he randomly targets one party member and has an orb follow them around. The party member who’s being targeted must steer clear from everyone as the orb will explode.
– The last move that everyone needs to know is the AOE Frost Bite that he casts randomly. As the boss’ HP drops below 25%, he then casts an improved version of Frost Bite where it can appear anywhere on the ground. This is avoidable but if you get caught by it, you will get the same damage and effect the Frost Bite gives you.
For more Final fantasy XIV Game Guides like this one, check out our Final Fantasy XIV Game Guide page.

